Started writing blogs on my new domain "www.chintanrathod.com". Please visit and share your views and experience.
Know Android
Tuesday, 7 April 2015
Tuesday, 2 December 2014
NFC Mifare UID (Card Serial Number) reverse issue
If you are using NFC in your application, you should be careful while using UID of NFC card.
When any card is manufactured, it will be assigned a card serial number and it must be there if there is no any data.
When you try to fetch that UID using Android SDK NFC tag technology, it will return you UID in reverse order.
Generally when card ia manufactured, bytes are stored in LSB (Least Significant Byte) order while when Android read card serial number, it will read in MSB(Most Significant Byte) fashion.
For example. Any card has UID "12345678" then in MSB fashion, it will be like "78563412".
So you need to convert this order from MSB to LSB.
Following short of code will help you to do this.
 String cardID = getHax(tag.getId());
 String cardIdArr[] = cardId.split(" ");
 String reverseCardId = "";
 for (int i=0;i < cardIdArr.length;i++)
 {
   reverseCardId += cardIdArr[i];
 }
 Log.d("reverse"," card id = " + reverseCardId );
Thursday, 27 November 2014
Android Fragment Back Stack handling
Description
Fragment Back Stack manager while displaying fragments on single activity and need to maintain on back pressPurpose
We know that there is activity stack in Android. We don't need to maintain the stack while opening or closing activity. It will automatically handle the stack and show you the top of activity when you pressedback button.But in fragment, its neccessary to handle them. Because Android is not going to handle them. We need to create a stack of fragment and manage them while pressing
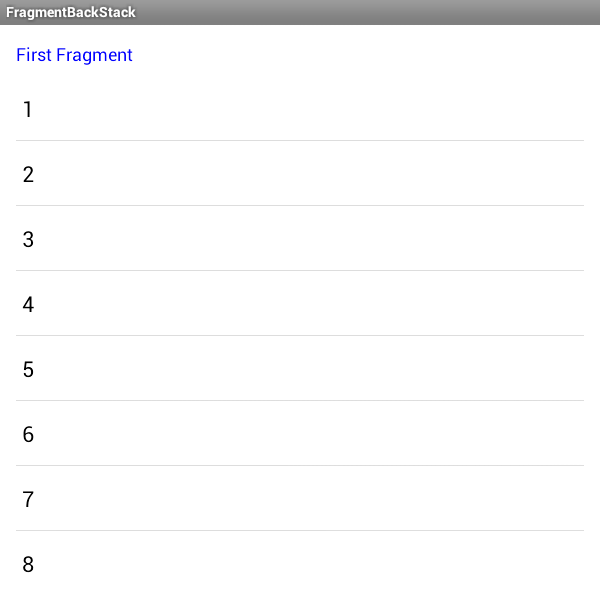
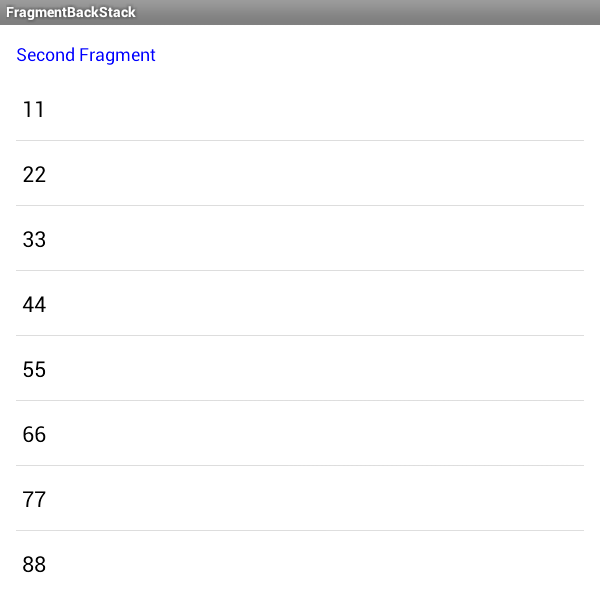
back button.So, I have created one demo to represent how to handle the fragment in Back Stack.
Usage
In the sample application, you will find one object namedfragmentStack. Its a Stack which will
push and pop the fragment as per requirement.Whenever you are displaying any new fragment, just push that fragment into stack using following code.
 //here this fragment is our first fragment
 homeListFragment = new HomeListFragment();
 fragmentStack.push(homeListFragment);

And when you are displaying any other fragment over this fragment, use following code.
We will create a new object of second fragment and add it to stack.
 //here this fragment is second fragment
 resultListFragment = new ResultListFragment();
 //hide the last fragment
 ft.hide(fragmentStack.lastElement());
 //push the new fragment into stack
 fragmentStack.push(resultListFragment);

When
backPressed event fires, we will check whether stack size is 2 or not. If it is, then we will pop last
fragment and display the previous fragment by following code. if (fragmentStack.size() == 2) {
FragmentTransaction ft = fragmentManager.beginTransaction();
fragmentStack.lastElement().onPause();
ft.remove(fragmentStack.pop());
fragmentStack.lastElement().onResume();
ft.show(fragmentStack.lastElement());
ft.commit();
} else {
//if size is `1` it means first fragment is visible and we can exit from application
super.onBackPressed();
}
Click here to download full source code
Labels:
android,
Android Studio,
eclipse,
fragment,
fragment manager,
stack,
tab
Sunday, 14 September 2014
Exit from Activity with twice "Back" button click
Description: When user presses two times "back" button, he is allow to exit from activity
Complexity Level:
Beginner
Keywords: back,
back button, android, android studio, alert, onbackpress, twice
When we are doing some important operation or work on activity and it may possible that by mistake we pressed "back" button. This will simply stop all your important work and you are redirect to previous activity.
To overcome this situation, we can provide a confirmation to the user that you need to press once again to exit from activity. This will give user a great experience in application.
To add this functionality in you application, use following code snippet.
 @Override
 public void onBackPressed() {
   if (doubleBackToExitPressedOnce) {
     super.onBackPressed();
     return;
   }
   this.doubleBackToExitPressedOnce = true;
   Toast.makeText(this, "Press once again to exit", Toast.LENGTH_SHORT).show();
   new Handler().postDelayed(new Runnable() {
     @Override
     public void run() {
       doubleBackToExitPressedOnce=false;
     }
   }, 2000);
 }
Expatiation:
doubleBackToExitPressedOnce is core of this snippet. When user presses "back" button, value for `doubleBackToExitPressedOnce` is "false" and he will get a message for "Press once again to exit".
If user presses "back" button one more time, he will redirect to previous activity as "doubleBackToExitPressedOnce" is now "true".
Labels:
android,
android studio,
back,
back button,
onbackpress,
twice
Monday, 1 July 2013
Display Alert on Back button Pressed in Android Studio
Description: When
user wants to exit from application, he is prompted to exit from application.
Complexity Level:
Beginner
Keywords: back,
back button, android, android studio, alert, dialog, onbackpress
Alert means to get user’s input when needed. Most of us played
games and when we try to exit it by pressing “Back” button in Android phone, it ask for “Do you really want to exit?”. So,
in this article we are going to learn how to prevent user to exit from
application without giving response.


Step 1:
Create
a new Project with following parameters.
Step 2:
Open
your Main Activity file, in my case it is “BackPressActivity”
and paste following code inside.
===============
BackPressActivity
===============
package
com.example.alertonbackpressdemo;
import
android.app.AlertDialog;
import
android.content.DialogInterface;
import
android.os.Bundle;
import
android.app.Activity;
import
android.view.Menu;
public
class BackPressActivity extends Activity {
@Override
protected void onCreate(Bundle
savedInstanceState) {
super.onCreate(savedInstanceState);
setContentView(R.layout.activity_main);
}
@Override
public void onBackPressed() {
AlertDialog.Builder builder = new
AlertDialog.Builder(this);
builder.setCancelable(false);
builder.setMessage("Do you want to
Exit?");
builder.setPositiveButton("Yes",
new DialogInterface.OnClickListener() {
@Override
public void onClick(DialogInterface
dialog, int which) {
//if user pressed
"yes", then he is allowed to exit from application
finish();
}
});
builder.setNegativeButton("No",new
DialogInterface.OnClickListener() {
@Override
public void onClick(DialogInterface
dialog, int which) {
//if user select
"No", just cancel this dialog and continue with app
dialog.cancel();
}
});
AlertDialog alert=builder.create();
alert.show();
}
}
Let’s
understand Alert Dialog and its different methods.
In
code there is written “builder.setCancelable(false);”
which means that user can’t cancel this dialog by pressing back again or touch
outside the alert dialog box and dismiss it. So user has to press one of the
options you have provided to him.
Next
is “builder.setMessage("Do you want
to Exit?");”. Here you can write your own message which will be
displayed to user in alert.
“builder.setPositiveButton” will set a
positive button in left side. Parameter will accept the name of that button as
you can see in code is “Yes”. Same
thing is set for “builder.setNegativeButton”.
When you set these buttons, you need to pass a listener which will be fired
when user click one of the button.
Step 3:
Run
your application.
Summary
In this article, we learned “How
to show Alert Dialog” and “Show dialog at BACK button pressed”.
Labels:
alert,
android,
android studio,
back,
back button,
dialog,
onbackpress
Subscribe to:
Comments (Atom)